Configure Footprint Users
Footprint uses Microsoft Entra ID (formerly Azure Active Directory) to add its Users; because of this, all Footprint Users must have an Entra ID login (including Customer Portal users).
Datex Manager is how Footprint provides the ability to manage your Organization and its Users. There are several levels on which access can be granted, limiting the Users to that level and below.
Examples
- A User dealing solely with one Project can have their access set at that Project's level, so that they may only make changes in the system relating to that specific Project.
- A User granted access at the Owner level has access to each of that Owner's Projects.
- Setting User Access on a Warehouse level allows those enabled to directly interact with everything Warehouse level and below, but nothing outside of that particular Warehouse.
- When a User is granted access at the Enterprise level, permissions are granted throughout the system, giving the User the highest level of access.
Overview
User access consists of an Account in Datex Manager, and that Account is assigned to at least one (1) Role and one (1) Data Access Group.
There are three (3) Account types that can be granted access based on their assigned Roles and Data Access Groups: User, Group, and Service Principal.
-
User: an individual user's account; based on the organization's Entra ID Users.
-
Group: a joint account for a group of users; based on the organization's Entra ID Groups.
-
Service Principal: an account used for an organization's application integrations; based on the organization's Entra ID Service Principals. For example, Shopify requires an account with distinct permissions. Creating a Service Principal account for this integration provides the benefit of a secure, dedicated login and authorization for the active, ongoing integration between the two systems.
Creating an Account of one of these types does not grant the Account access. Further steps must be taken to specify the access details for any new Account.
For simplicity, the remainder of this article will refer to the User Account type, but the same steps can be applied to the Group and Service Principal Accounts.
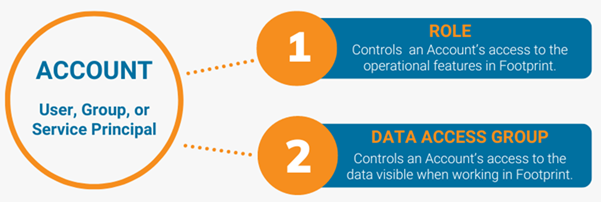
There are two (2) access control types which must be applied to an Account: Roles and Data Access Groups.
-
Roles: control access to the specified operations that can be performed in Footprint. For example, some Users may have the ability to access Billing features, other Users may have access to approve Cycle Counts, or some Users may not have access to the Delete button. A User may be assigned to as many Roles as needed.
-
Data Access Groups: control access to specified data entities within the Role (Warehouses, Owners, Projects, etc.). For example, some Users may only need access to data for the Warehouse in which they perform duties, or to data for specific Owners, instead of data for all the organization's Warehouses and/or Owners.
Note
User, Group, and Service Principal Accounts must be assigned at least one (1) Role and one (1) Data Access Group.
Create Roles
Datex Manager allows you to create and manage Roles, to which Users can be assigned. For Users to have access to Footprint, these Roles must also be assigned to one or more Applications. Each Role is defined by its ability to perform and/or view certain activities in the system.
Begin by creating the new Role.
Note
When creating new Roles and Data Access Groups, the Name may not contain special characters or spaces. While the Name value may contain a number, the value cannot begin with a number.
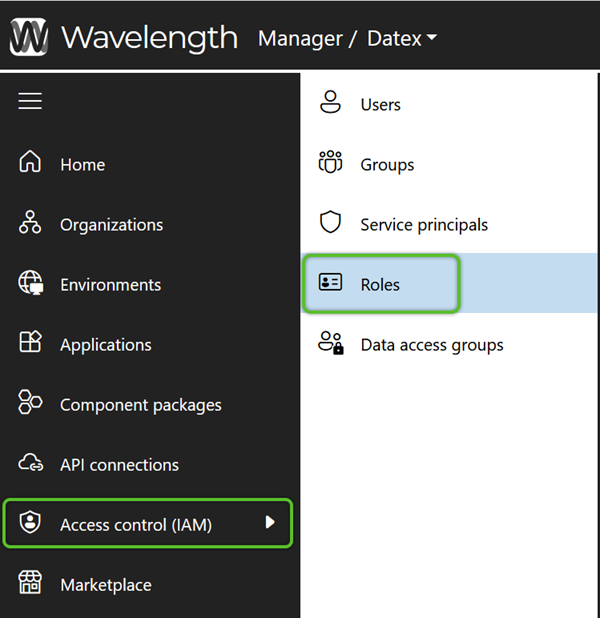
1. In the left navigation menu, click Access Control (IAM), then select Roles.
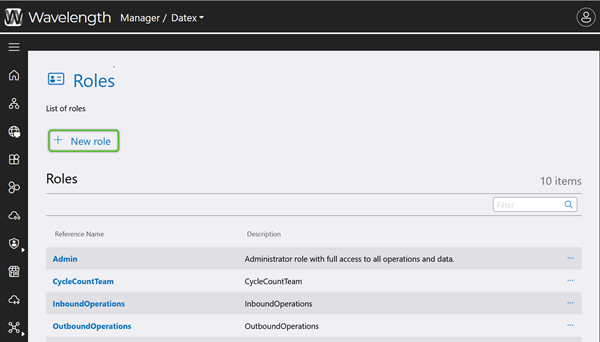
2. Click the + New Role option in the top menu.
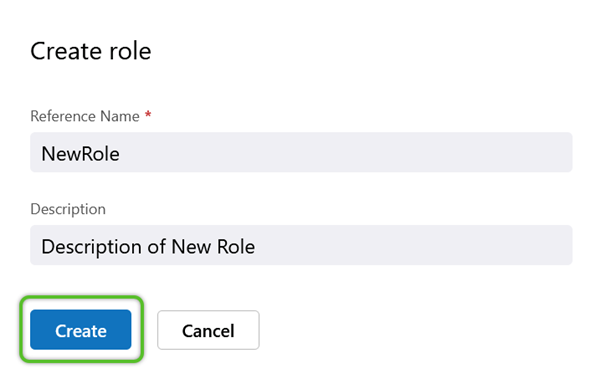
3. In the Create Role window, enter a required Reference Name (must not contain special characters or spaces) and a short Description for the Role.
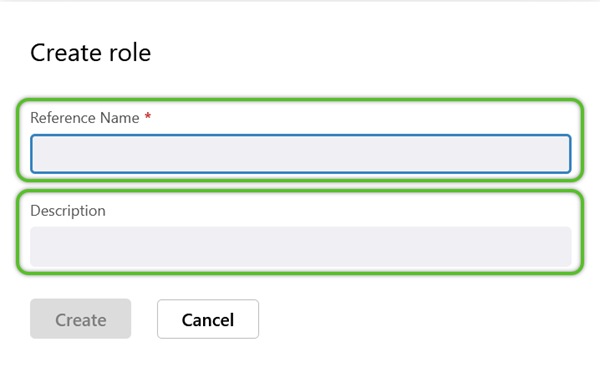
4. Click the blue Create button to save the new Role.
The new Role will be available for further access configuration. Repeat this process for as many Roles as are needed.
Next, grant the Role permissions to the Applications it needs to access.
1. In the left navigation menu, select Environments.
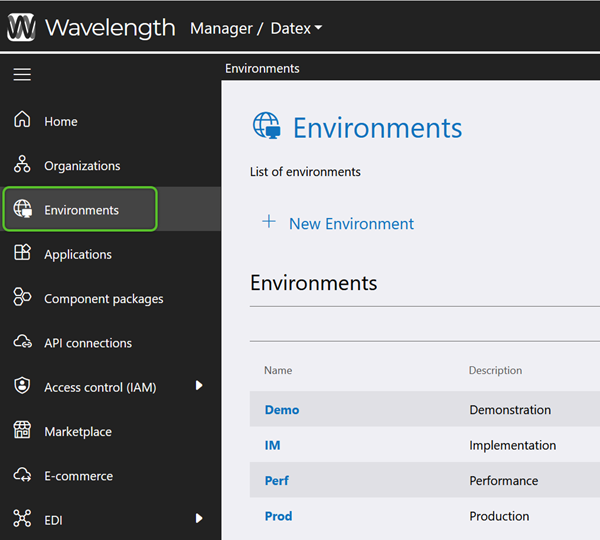
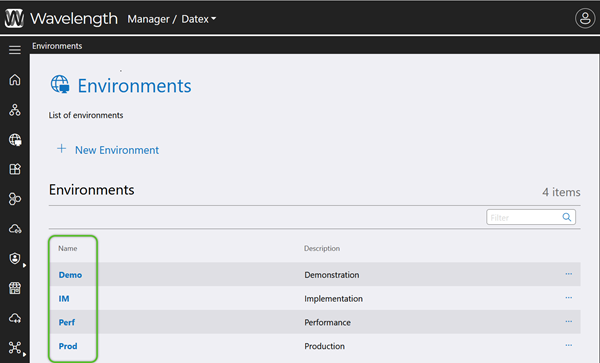
2. Click the blue Environment Name to which the Role(s) should have access.
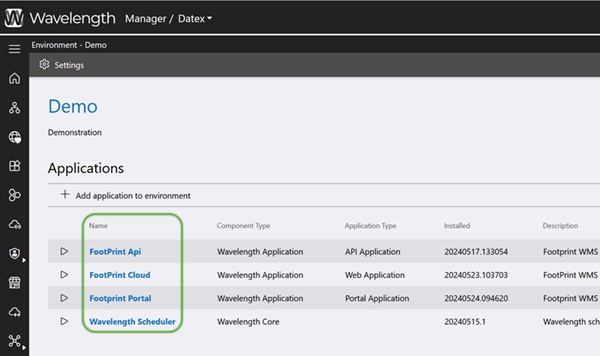
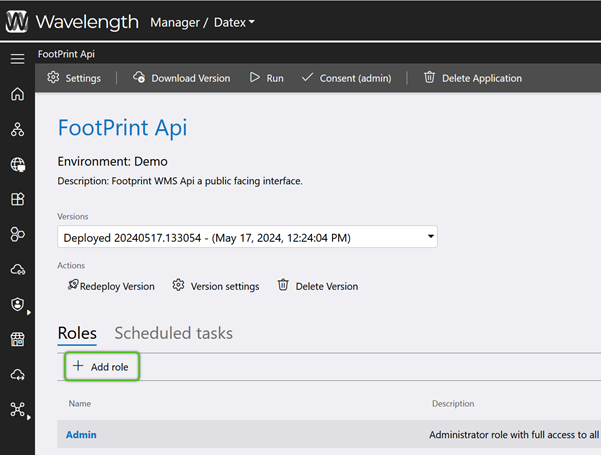
3. Click the blue Application name in that Environment to which the Role(s) should have access.
4. Click the + Add Role option in the Roles tab menu.
5. In the Select Roles window, check the box of the Role(s) for that Application that will need access to the Environment, then click the blue Add button.
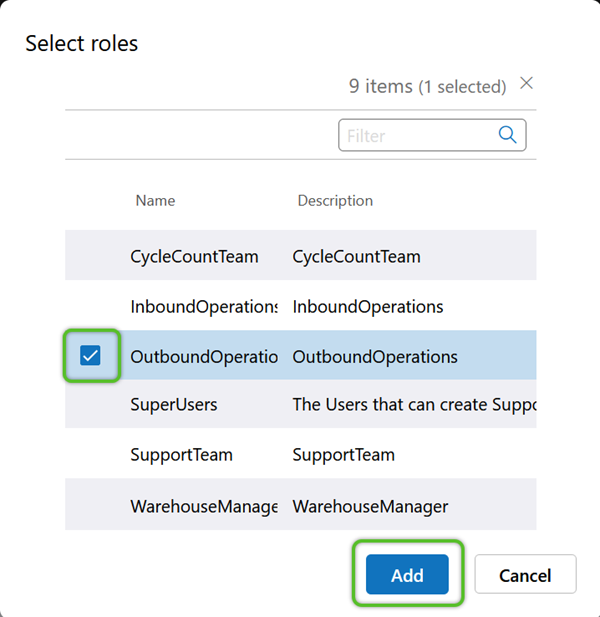
Users in the selected Role(s) will now have access to the Environment.
Finally, refine the permissions for the new Role as needed.
To restrict specific permissions for a Role, Operations can be added to deprecate those specified permissions.
1. In Datex Manager, click Environments in the left navigation menu.
2. Click the blue Environment Name to which the Role(s) should have limited access.
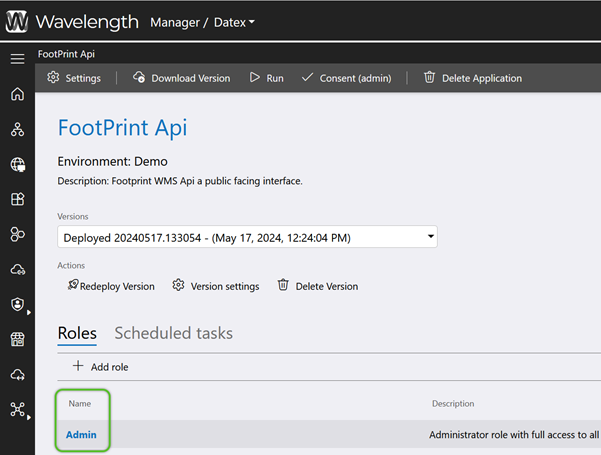
3. Click the blue Application name in that Environment to which the Role(s) should have limited access.
4. Click the blue name of the Role requiring limited access.
5. Click the + Assign Operation option in the menu.
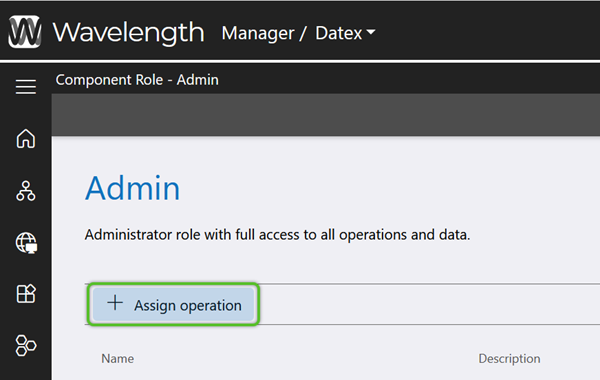
6. In the Select Operations window, check the box for the Operations that apply to the Role, then click the blue Add button.

The selected Operation(s) will remove the related functionality from Users in that Role.
Configure Data Access
Now that Users have access to Footprint, their access to the data displayed must be configured. Data Access Groups and API Connections are how Users are granted these permissions, and once created in Datex Manager, they can be utilized for User data access configurations.
When creating new Data Access Groups, be sure to do so under the appropriate tab: Users, Groups, or Service Principals.
Note
When creating new Roles and Data Access Groups, the Name may not contain special characters or spaces. While the Name value may contain a number, the value cannot begin with a number.
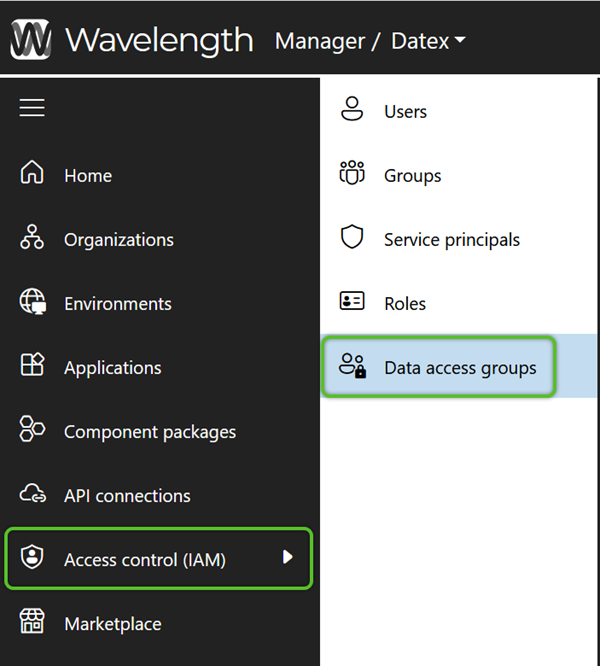
1. In the left navigation menu, click Access Control (IAM), then select Data Access Groups.
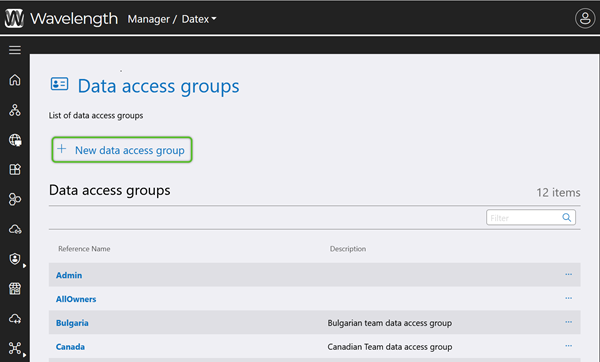
2. Click the + New Data Access Group option in the top menu.
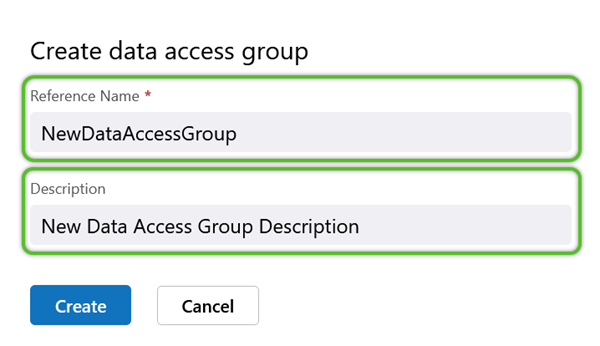
3. In the Create Data Access Group window, enter a required Reference Name (must not contain special characters or spaces) and a short Description for the Data Access Group.
4. Click the blue Create button.
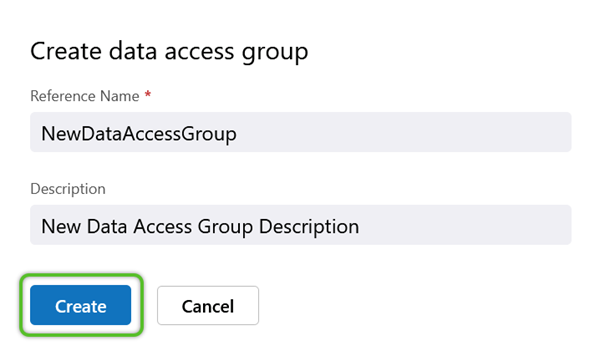
The Data Access Group will be available for further configuration.
Repeat this process for as many Data Access Groups as are needed.
After creating a new Data Access Group, refine its data permissions from API Connections, as needed.
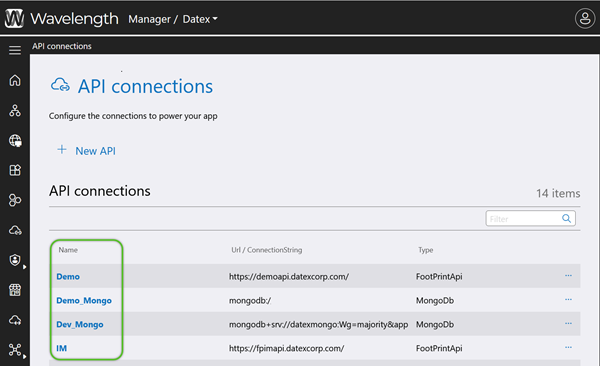
1. In Datex Manager, click API Connections in the left navigation menu.
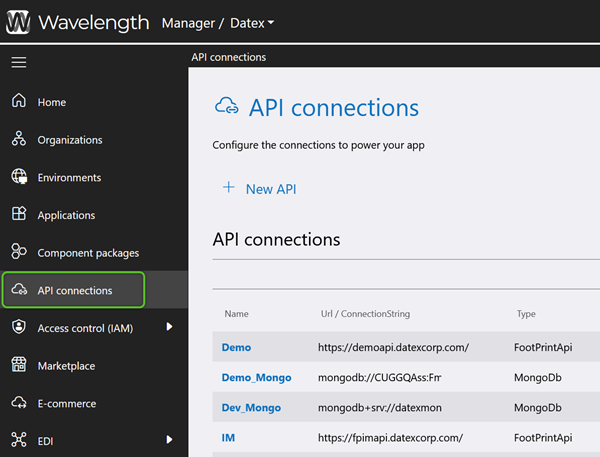
2. Click on the blue API Connection Name.
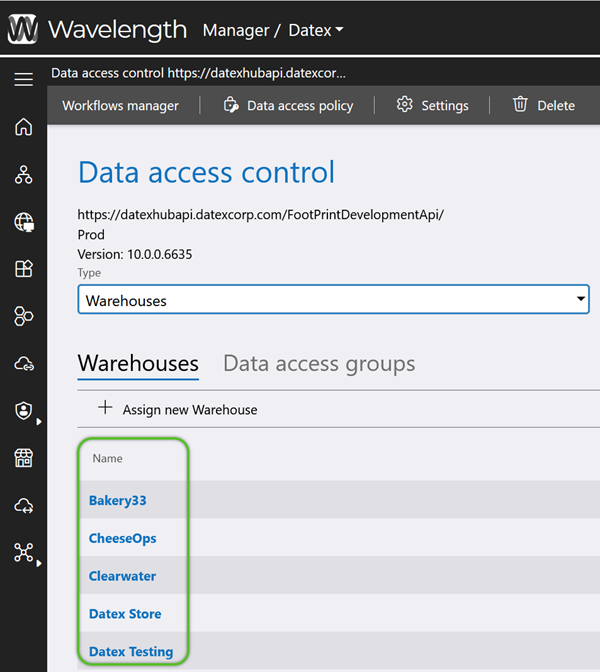
3. Use the Type drop down to select an Account, Owner, Warehouse, etc.
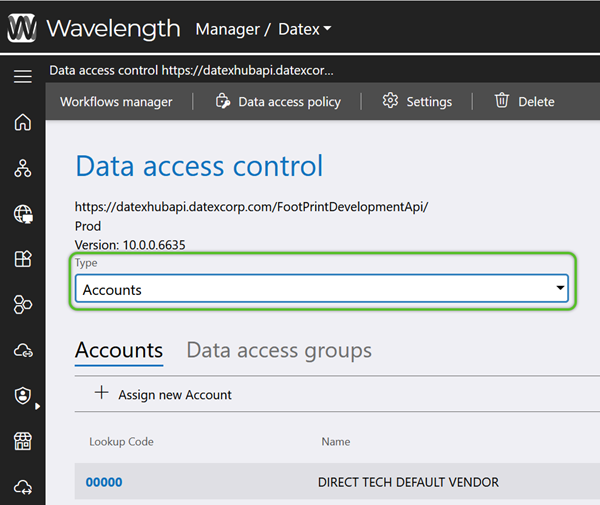
The default Accounts tab and list displayed will update to reflect the selected Type.
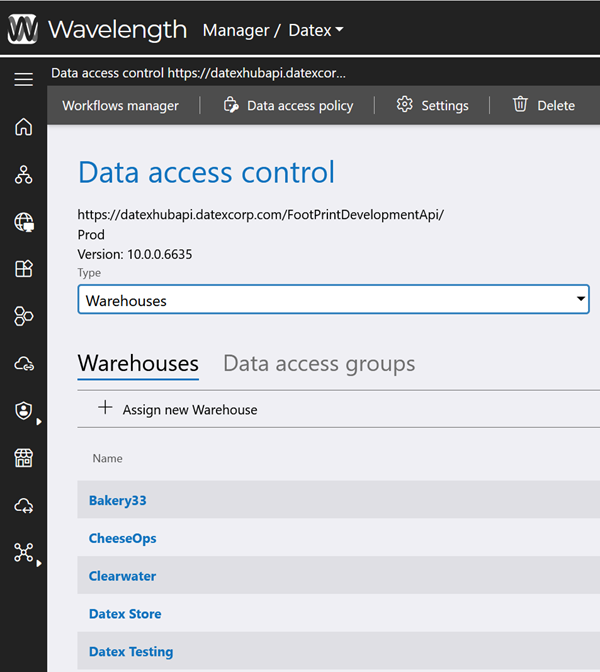
4. Click on the blue Name/Lookup Code of the data set within the selected Type that needs access to be adjusted.
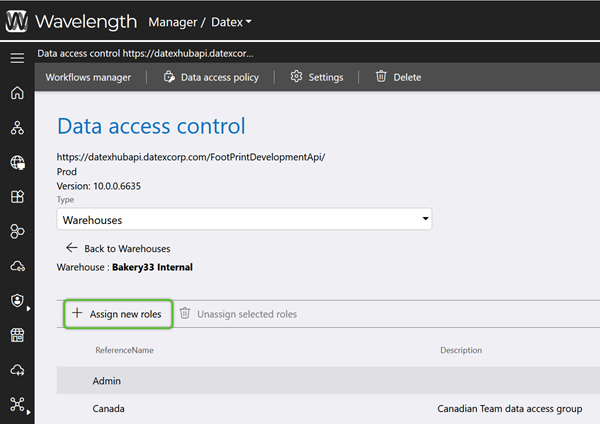
5. Click the + Assign New Roles option.
6. Check the box for any Data Access Groups that should have access to the data, then click the blue Select button.
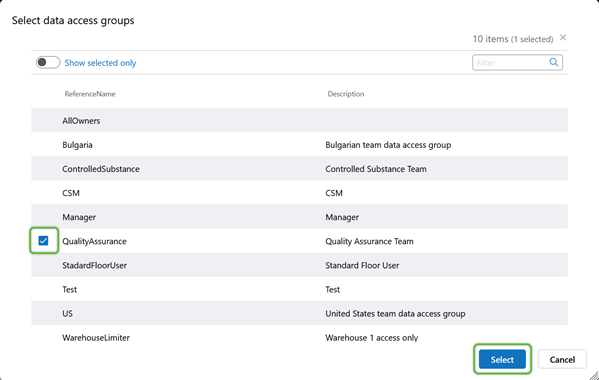
Once a Data Access Group has been configured via the API Connection, Users assigned to the Data Access Group may access the specified data.
Grant User Access
Once Roles, Data Access Groups, and API Connections have been established in Datex Manager, Users can be added from Active Directory and assigned the appropriate permissions.
Begin by adding Active Directory Users to Datex Manager.
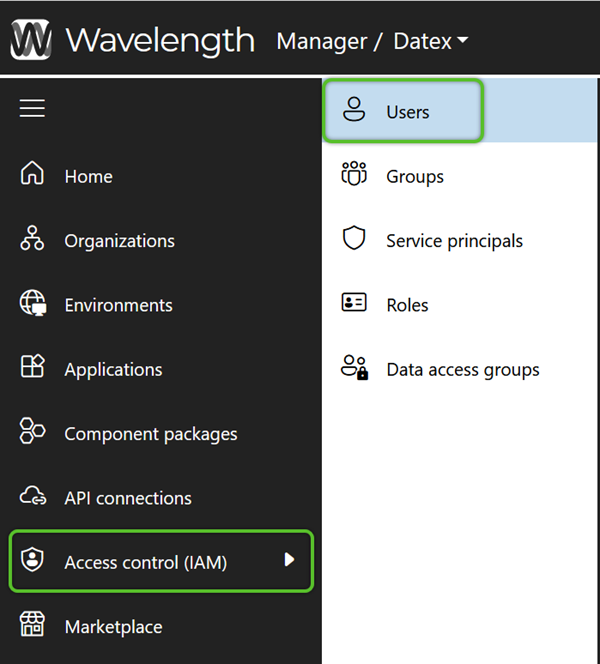
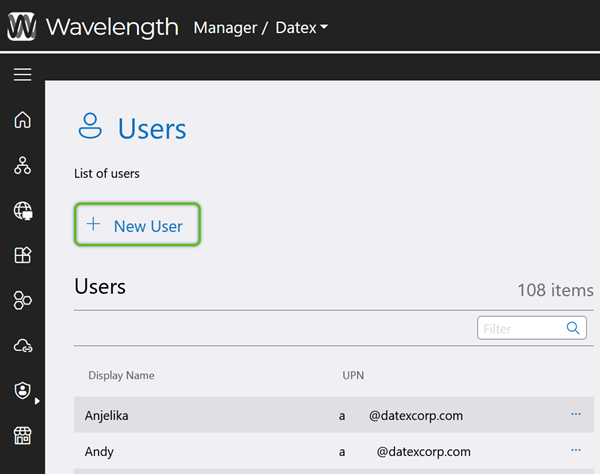
1. In the left navigation menu, click Access Control (IAM), then select Users.
2. Click the + New User option at the top.
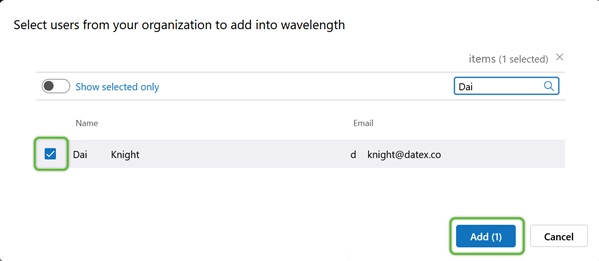
3. In the Active Directory User list, locate and check the box for the User(s) you wish to add, then click the blue Add button.
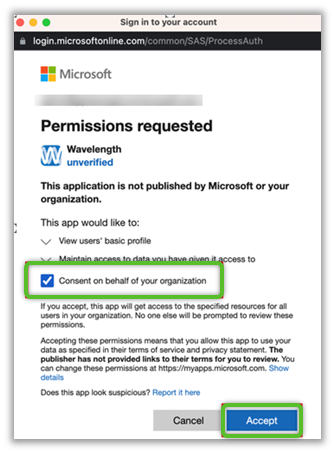
4. When the Microsoft Permissions Requested window appears, check the box to allow 'Consent on behalf of your organization' and click the blue Accept button.
After Users have been added to Datex Manager, they must also be assigned functional access with a Role and data access with a Data Access Group.
Once Users have been added to Datex Manager, they must be assigned to a Role, which determines their operational access. For example, the ability to view billing, approve cycle counts, delete records, and so on.
1. In the left navigation menu, click Access Control (IAM), then select Roles.
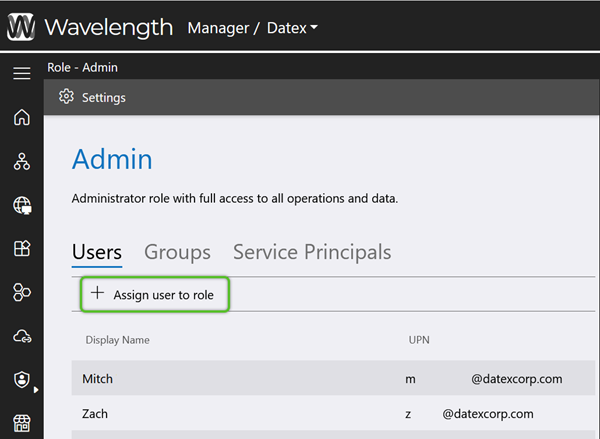
2. Click the blue Role Reference Name to which users will be assigned.

3. On the Users tab (default), click the + Assign User to Role option to search for User Accounts to add to the Role.
4. Check the box for Users to be assigned the Role, then click the blue Add button.
The association will be made, and the affected User Accounts will now have all Permissions as allowed by their Role. While here, click the Groups and Service Principals tabs if there are any new Active Directory Groups or Service Principal Accounts that also need this Role's level of access.
After Users have been assigned to their Roles, they must also be assigned data access with a Data Access Group.
Finally, Users need to be assigned to a Data Access Group, which determines which data sets they will see displayed when working in Footprint. For example, which one of multiple Warehouses will Users be working in, which specific Owner will a Service Principal be able to access, and so on.
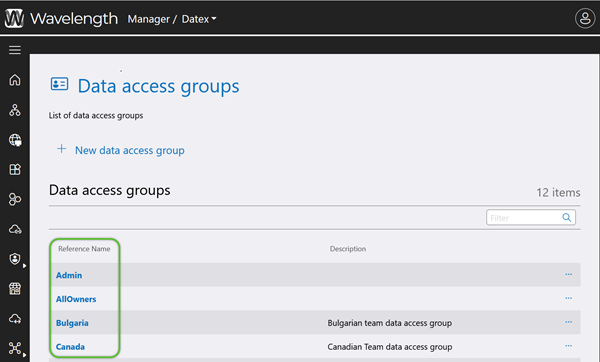
1. In the left navigation menu, click Access Control (IAM), then select Data Access Groups.
2. Click the blue Data Access Group name to which users will be assigned.
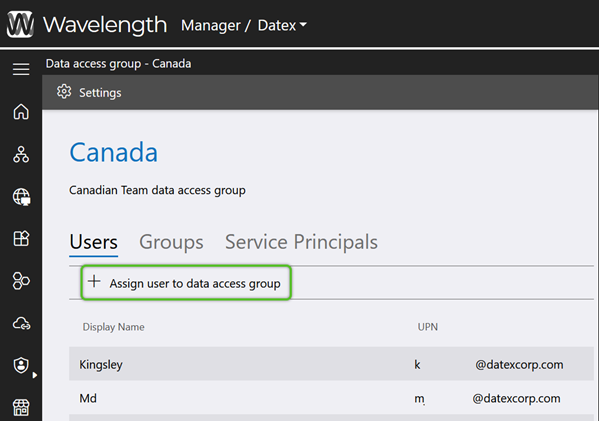
3. On the Users tab (default), click the + Assign User to Data Access Group option to search for User Accounts to add to the Data Access Group.
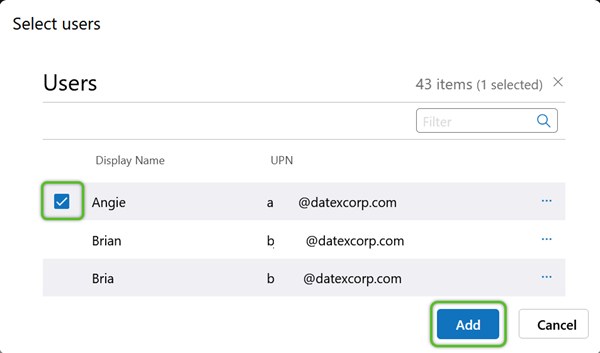
4. Check the box for Users to be assigned the Data Access Group, then click the blue Add button.
While here, click the Groups and Service Principals tabs if there are any new Active Directory Groups or Service Principal Accounts that also need this Role's level of access.
The newly added User Accounts will now have all permissions allowed by their Roles and Data Access Groups.
| Last Updated: |
| 06/06/2025 |
Copyright © 2025 Datex Corporation